
Emergency Roofing: What to Do When Your Roof Leaks Suddenly
A homeowner's immediate-response guide to active roof leaks, storm damage, and fallen trees — covering safety, temporary mitigation, documentation, and when to call for emergency service.
Key Editorial Takeaways
- ✓The first priority in a roof leak emergency is safety — address electrical hazards, avoid standing beneath bulging ceilings, and do not go onto the roof during an active storm.
- ✓Most insurance policies include a duty to mitigate — you are expected to take reasonable temporary steps to prevent further damage, and failing to do so can reduce your claim payout.
- ✓A bulging ceiling may be holding water and at risk of collapse — carefully puncturing a small drain hole at the lowest point prevents a larger collapse.
- ✓Document the damage with photos, dates, and storm event records before making any temporary repairs — this documentation is critical for insurance claims.
- ✓Keep all receipts for tarps, emergency services, and mitigation materials — these costs are typically reimbursable as part of an insurance claim.
- ✓Avoid signing assignment-of-benefits (AOB) agreements under pressure — these transfer your claim rights to the contractor and can create complications.
This article is part of our comprehensive guide: Identifying Hidden Hail and Wind Damage on Southeastern Roofs
Answer First: What Should You Do Immediately When Your Roof Leaks?
When a roof leak begins actively dripping into your home, the first priority is safety and damage mitigation, not permanent repair. The sequence is: protect people and belongings, contain the water, relieve ceiling weight if needed, document the damage, and arrange temporary professional mitigation. Most homeowners insurance policies include a duty to mitigate — meaning you are expected to take reasonable steps to prevent further damage, and failing to do so can reduce your claim payout.
The Insurance Information Institute (Triple-I) recommends that homeowners notify their insurer promptly after discovering damage and take reasonable steps to prevent additional loss. This guide covers the immediate response steps. For the full insurance claim process that follows, see our roof insurance claim guide.
Step 1: Ensure Safety First
Before addressing the leak, assess safety:
- Electrical hazard:** If water is near light fixtures, electrical outlets, or your electrical panel, turn off the breaker for that circuit. Water and electricity are a dangerous combination.
- Structural concern:** If a ceiling is bulging or sagging significantly, it may be holding water and could collapse. Do not stand directly beneath a bulging ceiling.
- Storm safety:** If the leak occurred during an active storm with lightning or high wind, do not go outside or onto the roof until the storm has fully passed.
Step 2: Contain the Water
Place buckets, trash cans, or towels beneath the active drip. If the water is spreading across a ceiling, place a bucket at the lowest point where it is pooling.
If the ceiling is bulging with water
A ceiling that is visibly sagging may be holding a significant volume of water. To prevent collapse:
- Place a bucket directly beneath the bulge
- Use a screwdriver or similar tool to carefully puncture a small hole at the lowest point of the bulge
- Allow the water to drain into the bucket
- Move the bucket as it fills
This controlled release prevents the ceiling from collapsing under the water weight and causing much larger damage. While it seems counterintuitive to make another hole, a small controlled drain point is far less damaging than a full ceiling collapse.
Step 3: Protect Belongings
Move furniture, electronics, rugs, and other valuables away from the leak area. If furniture cannot be moved, cover it with plastic sheeting or tarps. Remove items from shelves or cabinets beneath the leak.
Step 4: Document the Damage Immediately
Before making any temporary repairs, document the situation thoroughly. This documentation is critical for insurance claims:
- Photograph the active leak:** Water dripping, buckets catching water, ceiling stains
- Photograph the source if visible:** If you can safely see the roof damage from the ground or attic, photograph it
- Note the date and time:** Record when the leak started and the weather conditions
- Note the storm event:** If the leak follows a storm, record the date and any NWS warning that covered your area — NOAA's National Weather Service maintains storm reports that can corroborate the event
- Keep a written log:** Record what you observed, when, and any steps you took
For the complete documentation checklist, see our storm and hail damage guide.
Step 5: Make Temporary Mitigation Repairs
Most insurance policies include a duty to mitigate — you are expected to take reasonable steps to prevent additional damage. Temporary repairs are expected; permanent replacement before the adjuster inspects is not.
For an active leak through a small opening
- Apply a roof patch or roofing cement to the visible opening if safely accessible from a ladder (do not climb onto the roof during or immediately after a storm)
- Place a tarp over the exterior damage if it can be safely secured from a ladder
For a fallen tree or large branch
- Do not attempt to remove a large tree or branch yourself, especially if it is entangled with power lines
- Contact a tree removal service for safe removal
- Photograph the tree and damage before removal if safe to do so
For missing shingles
- If a small number of shingles are missing and the area is accessible from a ladder, a tarp can be temporarily secured over the exposed area
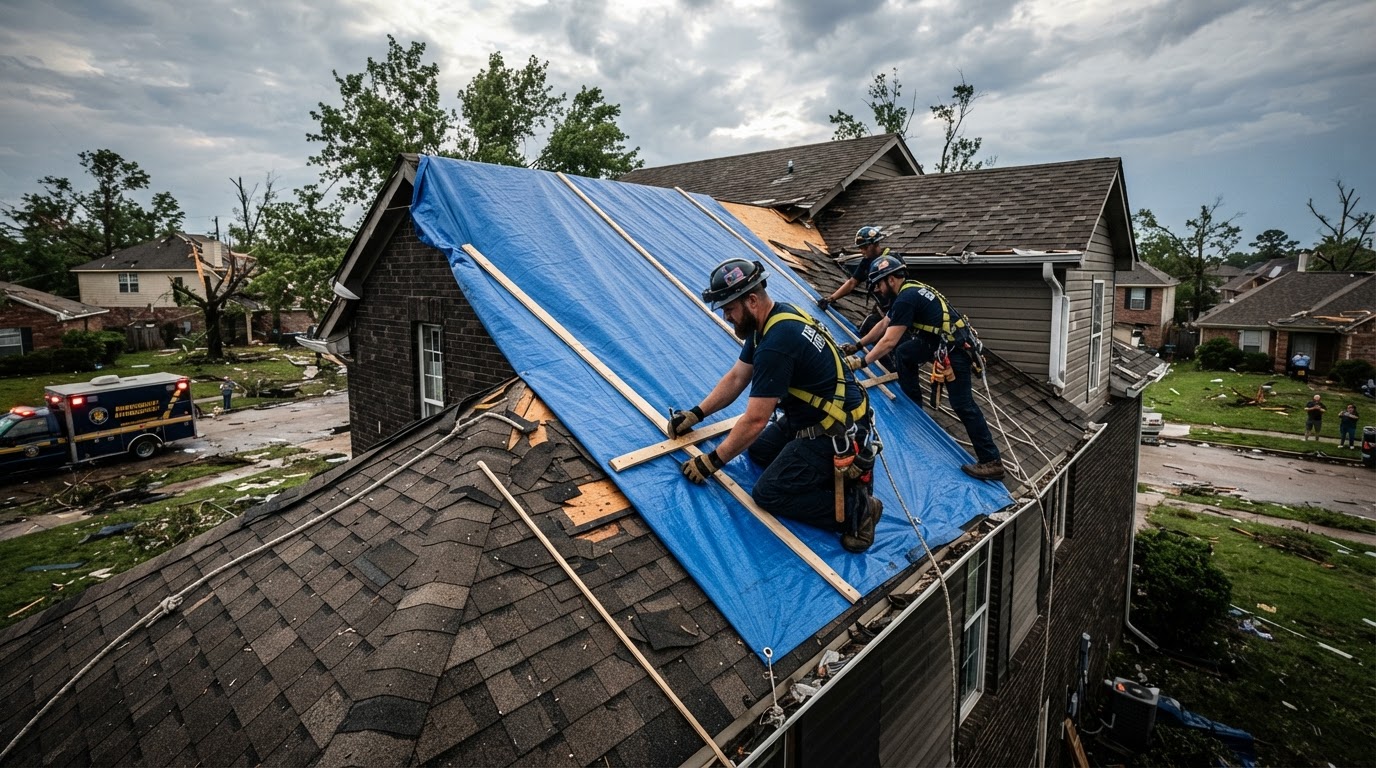
- Professional emergency tarping is safer and more reliable for larger areas
Keep all receipts
Save receipts for tarps, buckets, emergency services, tree removal, and any materials purchased for temporary mitigation. These costs are typically reimbursable as part of an insurance claim, but only if documented.
Step 6: Contact Your Insurance Company
After immediate safety and mitigation steps, contact your insurer:
- Have your policy number and the date of loss ready
- Describe the damage and the steps you have taken to mitigate
- Request a claim number and the name of the assigned adjuster
- Ask whether the insurer requires its own inspection or will accept a contractor's report
- Ask whether emergency mitigation is covered and how to submit receipts
The Insurance Information Institute emphasizes prompt notification as a foundational step in the claims process. For the complete step-by-step claim process, see our roof insurance claim guide.
Step 7: Arrange Professional Emergency Service
Emergency roofing service is warranted when:
- The leak cannot be safely mitigated from a ladder
- A large area of the roof is exposed
- A tree has fallen on the roof
- The leak is actively flooding interior spaces
- The damage occurred during a storm and you need professional documentation for a claim
What emergency roofing service includes
- Emergency tarping:** Securing a heavy-duty tarp over damaged areas to prevent further water intrusion
- Temporary patching:** Sealing active leak points
- Damage assessment:** A professional inspection and documentation of the damage for insurance purposes
- Tree coordination:** Some roofing contractors coordinate with tree removal services
Choosing an emergency contractor
- Verify the contractor is licensed and insured
- Avoid contractors who pressure you to sign an assignment-of-benefits (AOB) agreement on the spot — AOB agreements transfer your insurance claim rights to the contractor and can create complications
- Request documentation of the emergency work performed
What NOT to Do During a Roof Emergency
- Do not climb onto the roof during a storm** — lightning, wind, and wet surfaces make this extremely dangerous
- Do not make permanent repairs before the adjuster inspects** — most policies require the insurer to inspect the damage
- Do not discard damaged materials** — keep removed shingles, broken tiles, or debris as evidence for the claim
- Do not ignore small leaks** — a small leak can indicate a larger problem and can cause structural damage over time
- Do not sign an assignment-of-benefits agreement under pressure** — understand what you are signing before committing
After the Emergency: Next Steps
Once the immediate situation is stabilized:
- Complete the insurance claim process — meet the adjuster, review the estimate, and understand your coverage (RCV vs. ACV)
- Schedule permanent repairs or replacement — based on the adjuster's scope and your contractor's assessment
- Address the root cause — if the leak resulted from a maintenance issue (clogged gutters, missing pipe boot), address it to prevent recurrence
- Document everything — keep all records, photos, receipts, and correspondence for your files
For help deciding whether the damage warrants repair or full replacement, see our roof repair vs. replacement guide.
A Note on Sources
This guide draws on Insurance Information Institute guidance on claim filing and mitigation, National Association of Insurance Commissioners consumer resources, and National Weather Service storm reporting resources. Insurance policy requirements vary — always review your specific policy and contact your insurer for coverage details. Emergency safety procedures are general guidance; always prioritize personal safety and contact emergency services for hazardous situations.
Frequently Asked Questions
What should I do immediately if my roof starts leaking?
First ensure safety — turn off electricity to any circuits near the water and avoid standing beneath a bulging ceiling. Then contain the water with buckets, protect belongings, document the damage with photos and timestamps, and make temporary mitigation repairs like tarping if safely accessible. Contact your insurance company promptly, as most policies require you to take reasonable steps to prevent further damage.
Should I poke a hole in my ceiling if it's bulging from water?
Yes, if a ceiling is visibly sagging from trapped water, carefully puncturing a small hole at the lowest point with a screwdriver allows the water to drain into a bucket. This controlled release prevents the ceiling from collapsing under the water weight, which would cause much larger damage. It seems counterintuitive, but a small drain hole is far less costly than a full ceiling collapse.
Will my insurance pay for emergency tarping?
Most homeowners policies cover reasonable emergency mitigation costs, including tarping and temporary repairs, as part of the duty to prevent further damage. Keep all receipts and document the work. However, coverage varies by policy — confirm with your insurer what is covered and how to submit mitigation receipts. Emergency repairs should be temporary; permanent replacement should wait for the adjuster's inspection.
Should I sign an assignment-of-benefits (AOB) agreement?
Be very cautious about signing an assignment-of-benefits agreement under pressure. AOB agreements transfer your insurance claim rights to the contractor, meaning the contractor deals directly with your insurer and you lose control of the claim process. Some states have restricted AOB agreements because of abuse. Understand exactly what you are signing before committing, and consider consulting your insurer or an attorney if pressured.
Cited Research Sources & References
- Insurance Information Institute — How to File a Homeowners ClaimView Source
- National Association of Insurance Commissioners — Consumer ResourcesView Source
- NOAA National Weather Service Storm ReportsView Source