
The Roof Replacement Process: What Homeowners Should Expect
A step-by-step walkthrough of a complete residential roof replacement — from inspection and tear-off through underlayment, flashing, shingle installation, and final cleanup.
Key Editorial Takeaways
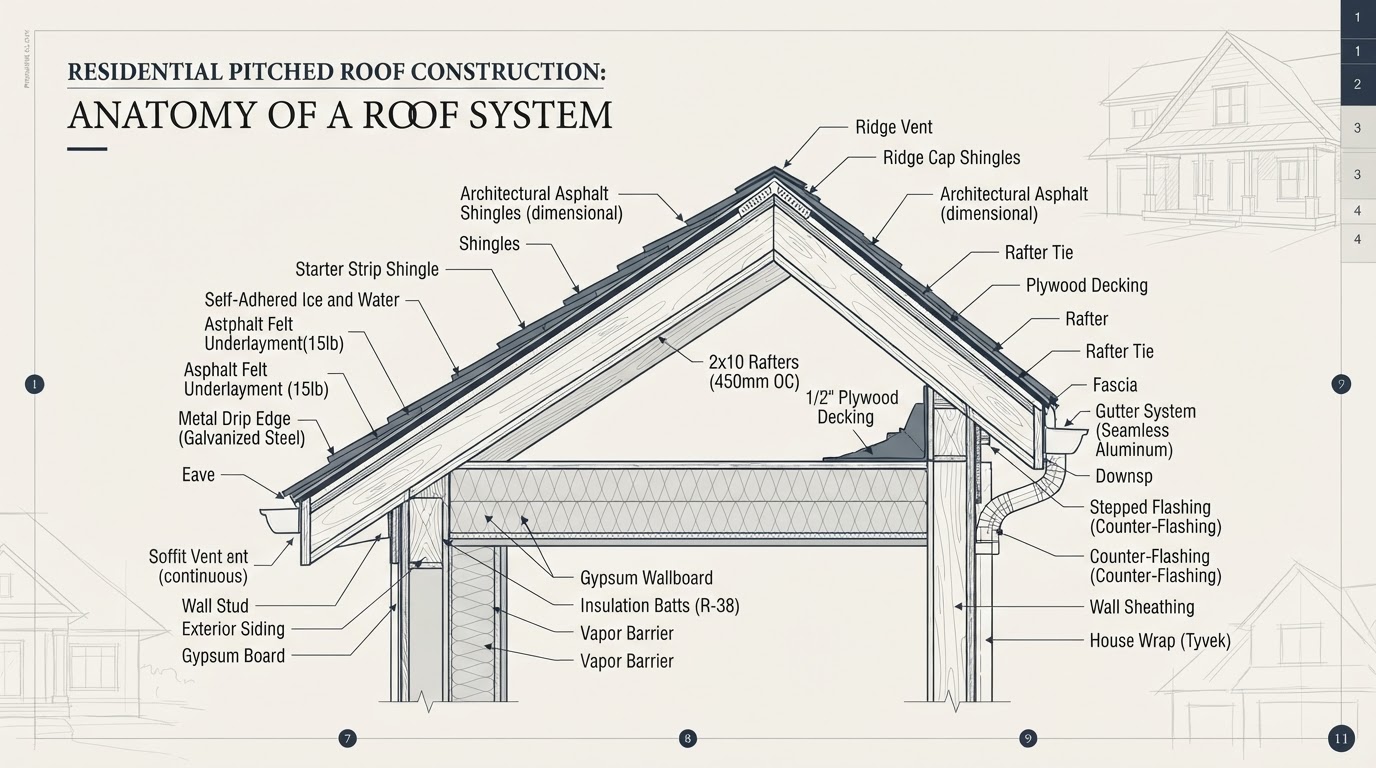
- ✓A roof replacement is a complete system installation — deck, underlayment, ice barrier, drip edge, flashing, shingles, and ventilation — not just new surface shingles.
- ✓IRC Section R908.3 mandates removing all existing roofing layers down to the wood deck before installing new coverings on a full replacement.
- ✓Decking damage from past leaks is discovered during tear-off — a professional estimate includes a per-sheet replacement rate so there are no surprises.
- ✓Flashing at valleys, chimneys, sidewalls, and penetrations should always be replaced, not reused — reusing old flashing is a common corner-cutting practice.
- ✓Attic ventilation is a code requirement and a warranty condition — inadequate ventilation can void the manufacturer's material warranty.
- ✓Most single-family roof replacements take 1–3 days, depending on size, complexity, pitch, weather, and tear-off layers.
This article is part of our comprehensive guide: How Much Does a Roof Replacement Cost? A Homeowner Guide
Answer First: What Happens During a Roof Replacement?
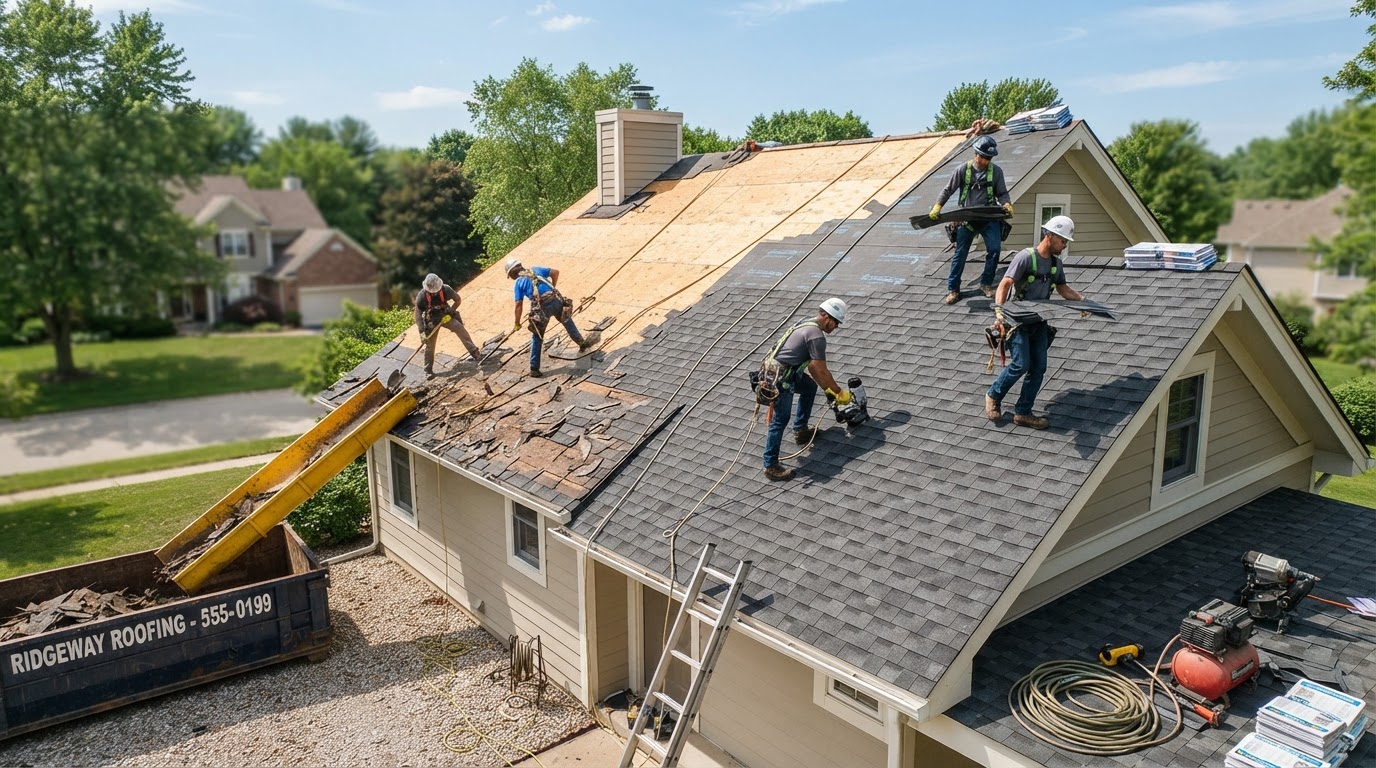
A residential roof replacement is a multi-day construction project that removes the entire existing roof system down to the structural wood deck and installs a complete new roof assembly. The process follows a predictable sequence: inspection and estimation, site preparation, tear-off and disposal, deck inspection and repair, underlayment and ice barrier installation, metal flashing and drip edge, shingle or material installation, ventilation work, and final cleanup.
The National Roofing Contractors Association (NRCA) describes a steep-slope roof system as an assembly of interacting components — deck, underlayment, ice barrier, flashing, shingles, and ventilation — that must be installed in the correct order and to manufacturer specifications for the system to perform as designed.
This guide walks through each phase so homeowners know what to expect, what to verify, and what building-code requirements govern the work. For how the total cost of this process is calculated, see our roof replacement cost guide.
Phase 1: Inspection, Estimation, and Contracting
Before any material is ordered, a roofing contractor should perform a thorough inspection that produces a written estimate. According to NRCA consumer guidance, a professional roof evaluation should identify the roof's age, the condition of all system components, and whether repair or replacement is the appropriate recommendation.
A replacement estimate should specify:
- The measured roof area in squares (100 sq ft units), not living square footage
- The roof pitch and complexity
- The specific manufacturer product, shingle line, and color
- Whether a complete tear-off is included
- The underlayment type (synthetic vs. felt)
- Ice and water shield scope where required by code
- Drip edge, flashing, and pipe boot replacement
- Ventilation assessment
- A per-sheet decking replacement rate for rotted wood discovered during tear-off
- Permit and disposal costs
- Workmanship warranty terms and manufacturer warranty registration
For help evaluating whether replacement is even necessary, see our roof repair vs. replacement guide.
Phase 2: Site Preparation and Protection
A responsible contractor protects the property before work begins. This phase typically includes:
- Landscaping protection:** Plywood or tarps over shrubs, flowerbeds, and AC units near the foundation
- Window and siding shielding:** Tarps or netting to catch falling debris
- Dumpster placement:** A roll-off container positioned for efficient disposal, with surface protection underneath
- Interior preparation:** The homeowner may be advised to remove fragile items from walls and attics, as the tear-off creates vibration
The contractor should also confirm that a building permit has been pulled where required by the local jurisdiction. The International Residential Code (IRC) requires permits for roof replacement in most municipalities, and the contractor — not the homeowner — typically handles this.
Phase 3: Tear-Off and Disposal
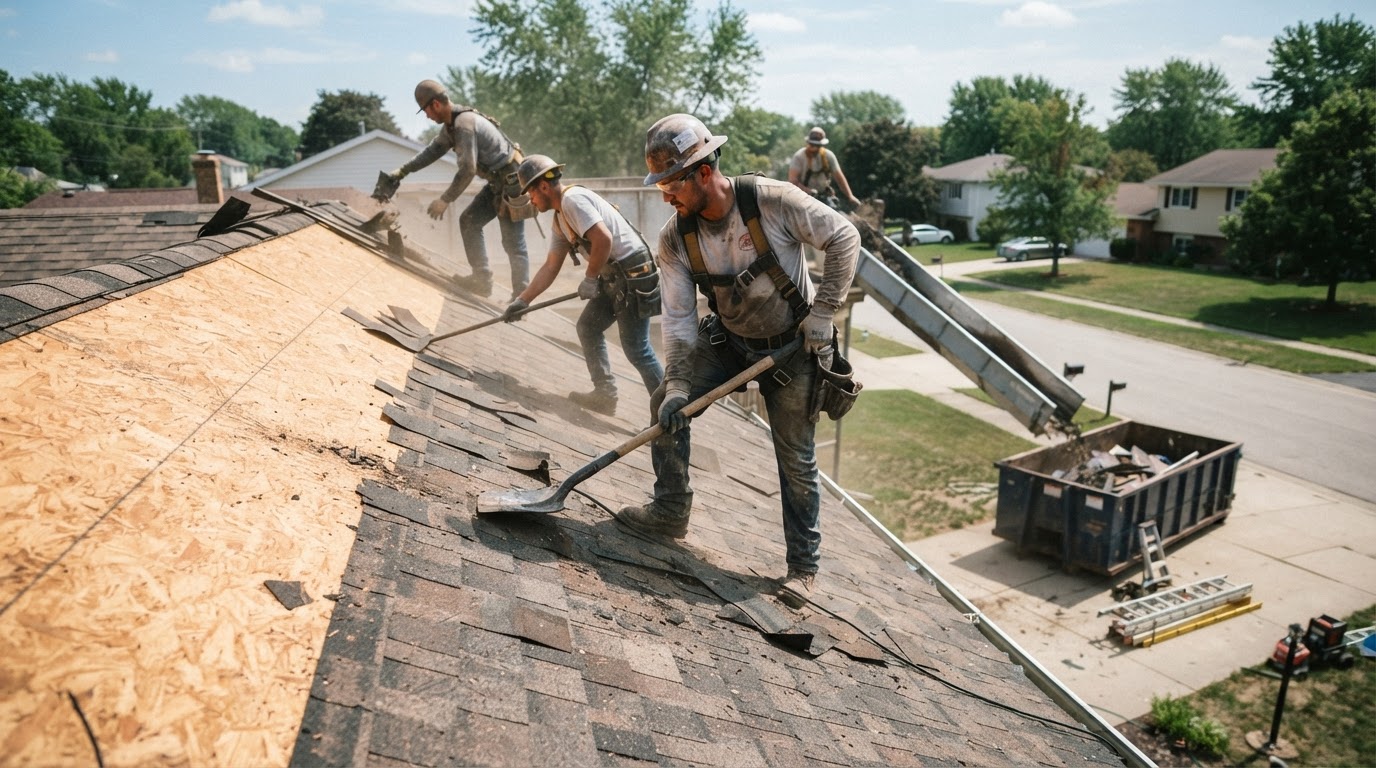
Tear-off is the removal of all existing roofing materials down to the bare wood deck. Under IRC Section R908.3, a complete roof replacement requires removing all existing layers of roof coverings down to the structural roof deck before installing new materials.
The tear-off process:
- Strip shingles and old underlayment using roofing shovels or tear-off tools, working from the ridge down to the eaves
- Remove old flashing, drip edge, and pipe boots — these are almost always replaced, not reused, on a full replacement
- Sweep the deck clean of debris, nails, and granules
- Load debris into the dumpster continuously to keep the work area safe
If the home has two existing layers of shingles (a previous overlay), tear-off labor and disposal weight double. This is one reason building codes limit roofs to two layers and why many manufacturers reduce warranties on overlays.
Phase 4: Deck Inspection and Repair
With the deck exposed, the contractor inspects every sheet of plywood or OSB sheathing for rot, delamination, and soft spots. This is the moment when concealed damage from past leaks is discovered — damage that was invisible before tear-off.
The NRCA emphasizes that the roof deck must be structurally sound, dry, and properly fastened before any new roofing material is installed. Rotted or delaminated sheets must be cut out and replaced.
What the homeowner should know
- Decking replacement cannot be fully predicted until tear-off is complete
- A professional estimate includes a per-sheet replacement rate (commonly $85–$130 per 4×8 sheet) so there are no surprises
- The contractor should photograph and document any rotted decking discovered
- Some older homes have skip sheathing (spaced boards) rather than solid plywood, which may require overlay with solid decking before architectural shingles can be installed
Phase 5: Underlayment and Ice Barrier Installation
Once the deck is sound, the water-resistant layers beneath the shingles are installed. These components are governed by IRC Chapter 9 and are critical to long-term performance.
Underlayment (IRC R905.1.1)
Underlayment is a water-shedding sheet installed over the deck and beneath the shingles. Two common types:
- Synthetic underlayment:** Higher tear resistance, UV stability, and lighter weight. The modern standard for most residential replacements.
- Asphalt-saturated felt (#15 or #30):** The traditional material. Lower cost but less durable during the exposure period before shingles are installed.
Ice and Water Shield (IRC R905.1.2)
In regions subject to ice damming, building code mandates a self-adhering polymer-modified bitumen ice barrier extending from the eave edge to a point at least 24 inches inside the exterior wall line. Even in warmer climates like Tennessee and Alabama, many contractors install ice and water shield in valleys, around chimneys, and at eaves as a best practice for leak prevention.
Drip Edge
Corrosion-resistant metal drip edge is installed along all eaves and rakes to direct water into the gutters and prevent water from wicking back under the decking. The IRC requires drip edge at eaves and gable rakes on asphalt shingle roofs.
Phase 6: Flashing and Penetration Detailing
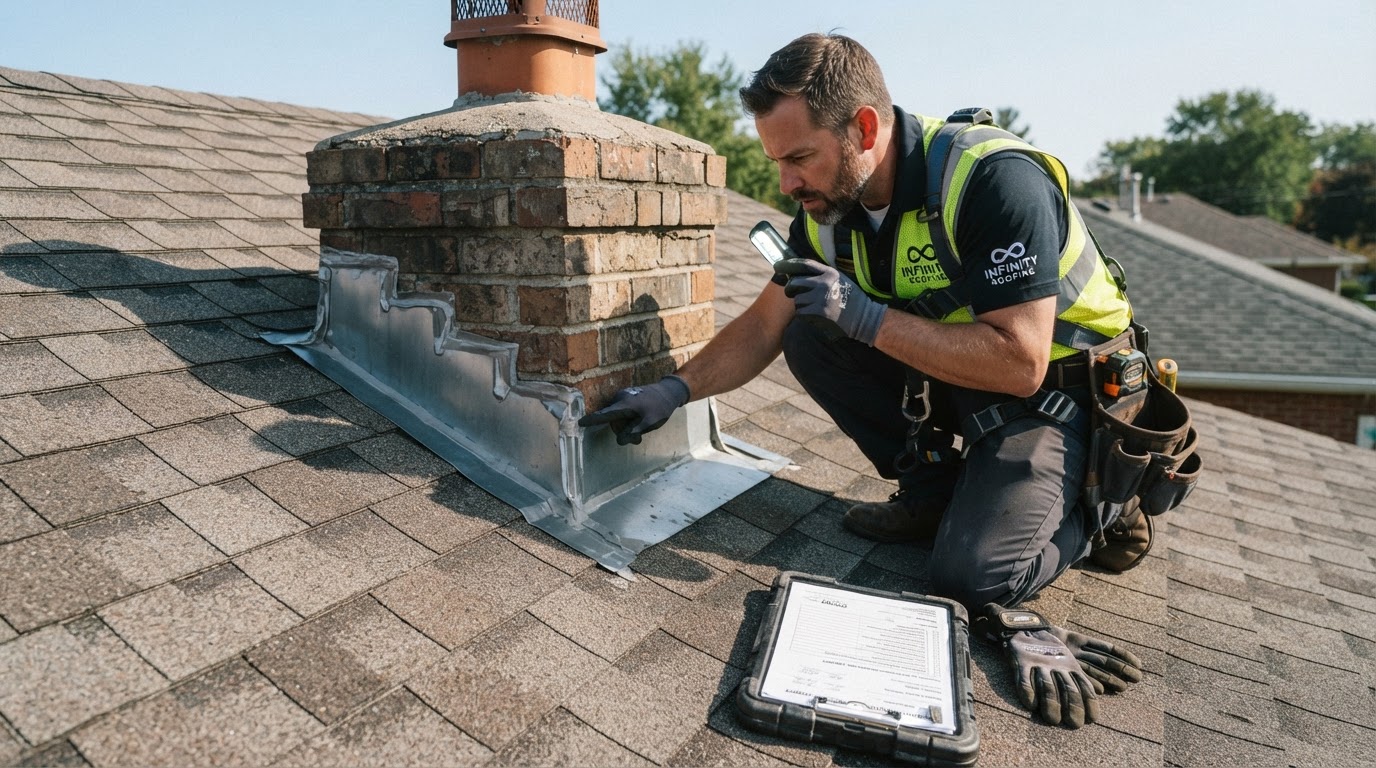
Flashing is the metal component that seals roof transitions and penetrations — the points where leaks most often originate. A full replacement should include new flashing at:
- Valleys:** Where two roof planes meet, requiring either woven shingle technique or metal valley flashing with ice and water shield beneath
- Chimneys:** Step flashing up the sides, a cricket (saddle) on the uphill side, and counterflashing embedded into the masonry
- Sidewalls:** Step flashing where the roof meets a vertical wall
- Skylights:** Manufacturer-supplied flashing kits or custom step flashing
- Plumbing vents:** New neoprene or lead pipe boots — neoprene boots typically fail every 7–10 years from UV exposure and should always be replaced
- HVAC and exhaust vents:** Properly flashed and sealed boots
Reusing old flashing is one of the most common ways a "cheaper" estimate cuts corners. New flashing is a sign of a complete system replacement.
Phase 7: Shingle or Material Installation
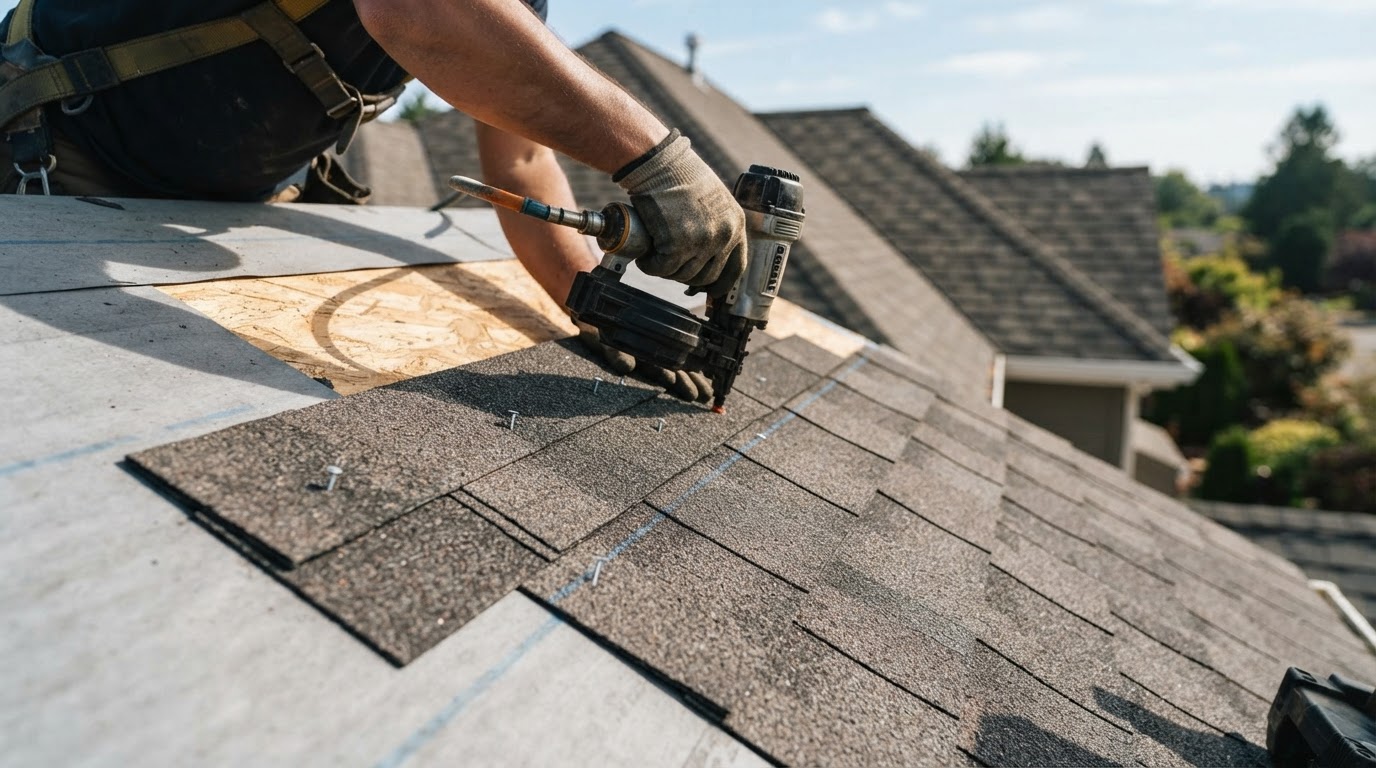
With the underlayment, ice barrier, drip edge, and flashing in place, the visible roofing material is installed. For asphalt shingle roofs — the most common residential material — installation follows manufacturer specifications that are tied to warranty validity.
Key installation requirements
- Starter strip:** A specialized starter shingle or reversed 3-tab at the eave to seal the bottom course
- Nail placement and count:** Manufacturer instructions specify exact nail placement (typically above the seal strip) and count (typically 4 nails per shingle, 6 in high-wind zones)
- Wind rating enhancement:** For high-wind ratings (ASTM D7158 Class H, up to 130 mph), manufacturers require enhanced fastening patterns that must be followed exactly
- Course alignment:** Shingle courses must be kept straight with proper exposure to maintain the warranty
- Ridge cap installation:** Pre-cut ridge cap shingles or cut 3-tab pieces, sealed with ridge vent if applicable
The Asphalt Roofing Manufacturers Association (ARMA) publishes detailed installation bulletins specifying that deviation from manufacturer instructions can void the material warranty. This is why the specific product and installation method should be documented in the contract.
Phase 8: Ventilation
Attic ventilation is not an optional add-on — it is a code requirement and a critical component of roof system health. The IRC requires balanced intake and exhaust ventilation to meet minimum net free vent area (NFVA) requirements.
Why ventilation matters
- Heat reduction:** In summer, trapped attic heat can exceed 150°F, baking shingles from below and accelerating granule loss and cracking
- Moisture control:** In winter, warm moist air from the living space condenses on cold deck sheathing, leading to rot and mold
- Warranty requirement:** Most shingle manufacturers require proper attic ventilation as a condition of warranty coverage — inadequate ventilation can void the material warranty
Balanced ventilation
A proper system balances intake (soffit vents at the eaves) with exhaust (ridge vents at the peak). The general guideline is approximately 1 square foot of NFVA per 300 square feet of attic floor area, split roughly evenly between intake and exhaust. A replacement estimate should include a ventilation assessment and any necessary additions.
For seasonal maintenance that protects ventilation performance, see our roof inspection and maintenance guide.
Phase 9: Cleanup and Final Inspection
The final phase separates professional contractors from the rest:
- Magnetic nail sweep:** The crew should sweep the lawn, driveway, and flowerbeds with a rolling magnet to collect stray nails — multiple passes are standard
- Debris removal:** All old roofing material, packaging, and underlayment scraps hauled away in the dumpster
- Gutter clearing:** Gutters cleared of granules and debris from the tear-off
- Final walk-through:** The contractor should walk the property with the homeowner to confirm cleanup and review the installation
- Documentation delivery:** The homeowner should receive warranty paperwork, manufacturer registration, permit documentation, and a final invoice
Timeline: How Long Does a Roof Replacement Take?
Most single-family residential roof replacements are completed in 1 to 3 days, depending on:
| Factor | Effect on Timeline |
|---|---|
| Roof size | Larger roofs (30+ squares) may require 2–3 days |
| Complexity | Valleys, dormers, and multiple pitches slow installation |
| Steep pitch | 8/12 or steeper requires safety equipment and slows crew movement |
| Weather | Rain or high wind delays tear-off and installation |
| Tear-off layers | Two existing layers double demolition time |
| Decking repairs | Extensive rotted wood replacement adds hours |
A contractor should provide a realistic timeline estimate and communicate weather contingencies.
What to Verify Before Making Final Payment
Before releasing final payment, confirm:
- All scope items in the contract were completed — tear-off, underlayment, ice barrier, drip edge, flashing, ventilation
- The correct manufacturer product and color was installed — verify against the contract
- Permit was closed/finalized — the local building inspector should have signed off
- Warranty paperwork was delivered — both manufacturer material warranty and contractor workmanship warranty
- Property cleanup is complete — no debris, no stray nails, gutters clear
- Decking replacement was documented — if rotted wood was found, you should have photos and a sheet count
A Note on Sources
This guide draws on the International Residential Code (IRC) Chapter 9 roof assembly requirements, National Roofing Contractors Association (NRCA) steep-slope roof system guidance, and Asphalt Roofing Manufacturers Association (ARMA) installation documentation. Specific installation requirements vary by manufacturer product — always verify that the contractor follows the exact instructions for the product being installed, as deviations can void the warranty.
Frequently Asked Questions
How long does a roof replacement take?
Most single-family residential roof replacements are completed in 1 to 3 days. The timeline depends on roof size, complexity, pitch, weather, the number of existing layers to tear off, and the extent of any decking damage discovered during tear-off.
Do I need to leave my house during a roof replacement?
You can usually stay home, but the tear-off phase creates significant noise and vibration. If you work from home or have pets sensitive to noise, consider arranging to be away during the tear-off day. The contractor will advise on any access limitations.
Will the contractor find rotted wood under my old roof?
It is common to discover some rotted or delaminated decking during tear-off, as past leaks can damage the wood beneath without being visible from outside. A professional estimate includes a per-sheet replacement rate (commonly $85–$130 per 4×8 sheet) so you know the cost upfront if damaged wood is found.
Is ice and water shield required on a roof replacement?
The IRC requires a self-adhering ice barrier in regions subject to ice damming, extending at least 24 inches inside the exterior wall line. Even in warmer climates, many contractors install ice and water shield in valleys, around chimneys, and at eaves as a best practice for leak prevention.
What should I check before paying the final invoice?
Verify that all contract scope items were completed, the correct product and color was installed, the building permit was finalized, warranty paperwork was delivered, and the property is fully cleaned up with no stray nails or debris.
Cited Research Sources & References
- International Code Council (ICC) — 2021 IRC Chapter 9: Roof AssembliesView Source
- National Roofing Contractors Association (NRCA) — Consumer ResourcesView Source
- Asphalt Roofing Manufacturers Association (ARMA) — Installation & StandardsView Source